Don't Waste Them! Roast Pumpkin Seeds for a Crispy, Healthy Treat
As autumn leaves fall and pumpkins take center stage, whether for festive decorations or delicious culinary creations, there's one golden opportunity many overlook: transforming those stringy, slimy seeds into a delightful, nutritious snack. Instead of contributing to food waste, embracing the simple art of how to roast pumpkin seeds is a game-changer. It's a surprisingly easy process that yields a crunchy, flavorful treat perfect for snacking, sprinkling, or adding texture to your favorite dishes.
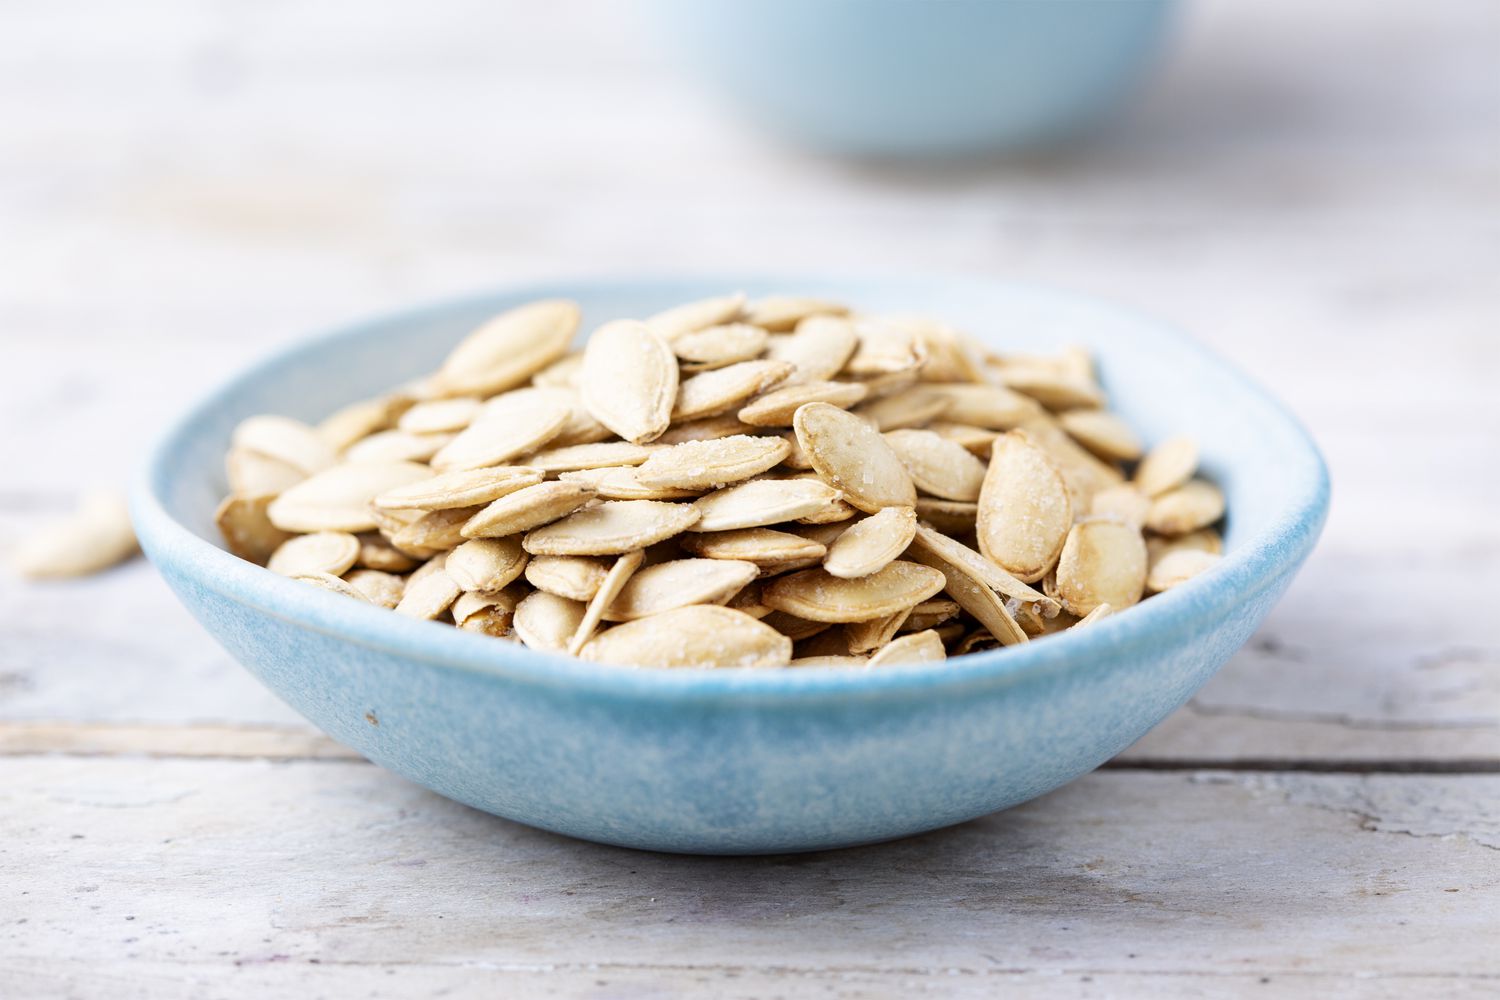
From the moment you scoop them out, pumpkin seeds hold immense potential. They're not just a byproduct; they're a humble yet mighty superfood packed with goodness. Roasting them elevates their natural nutty flavor and transforms their texture, making them irresistibly crispy. Let's dive into how you can turn those overlooked seeds into a pantry staple.
Why Roasting Pumpkin Seeds is a Must-Do
Beyond the sheer deliciousness, there are compelling reasons to make roasting pumpkin seeds a part of your seasonal ritual:
- A Nutritional Powerhouse: Pumpkin seeds, also known as pepitas when shelled, are small but mighty. They are an excellent source of protein, helping you feel full and satisfied. Beyond protein, they offer a good dose of dietary fiber, healthy fats (including omega-3s), and essential minerals like magnesium, zinc, and iron. Snacking on them can support heart health, aid in digestion, and boost your immune system.
- Combatting Food Waste: Every year, countless pumpkin seeds are simply discarded. By learning how to roast pumpkin seeds, you actively participate in reducing food waste, turning what would otherwise be trash into a treasure. It's a small step that makes a difference.
- Incredibly Versatile: Once roasted, these crispy seeds are far more than just a snack. Sprinkle them over salads for an extra crunch, add them to soups for a nutty garnish, mix them into granola or yogurt, or even incorporate them into bread dough. Their versatility makes them a fantastic ingredient to keep on hand.
- Economical and Easy: You've already bought the pumpkin, so the seeds are essentially a free bonus! The process of cleaning and roasting is straightforward, requiring minimal effort for maximum reward.
The Essential First Step: Cleaning Your Pumpkin Seeds
Before you even think about roasting, proper cleaning is paramount. This step ensures your seeds are free from any slimy pumpkin pulp and allows them to crisp up beautifully. Albert Nguyen, a chef-instructor at the Institute of Culinary Education, outlines a simple, effective method:
- Scoop and Collect: When carving your pumpkin or preparing it for cooking, use a sturdy spoon to scrape out all the seeds along with the stringy, fibrous flesh. Collect this mixture in a large bowl.
- Wash Away the Slime: Place the seeds and pulp under warm running tap water. Agitate the mixture with your hands. The seeds, being lighter, will float to the top as the slimy flesh separates and sinks or washes away. This is where patience pays off – ensure all pulp is removed.
- Strain and Separate: Use a small sieve or a slotted spoon to gently scoop the clean seeds from the water. You might need to repeat the washing process once or twice if there's stubborn pulp.
- Thorough Drying: This is arguably the most critical step for achieving truly crispy pumpkin seeds. Spread the washed seeds in a single, even layer on a clean kitchen towel or several layers of paper towels. Allow them to air dry completely, which can take several hours or even overnight. For a quicker dry, you can gently pat them with another towel until no moisture remains. Any residual moisture will steam the seeds instead of roasting them, resulting in a chewy, rather than crispy, texture.
Once your seeds are sparkling clean and thoroughly dry, you're ready for the magic of roasting!
Mastering the Roast: Oven vs. Stovetop Methods
The beauty of roasting pumpkin seeds lies in its flexibility. Both oven and stovetop methods yield delicious results, each with its own advantages. The key to both is ensuring your seeds are clean and completely dry – this cannot be stressed enough!
Oven Roasting for Consistent Crispness
The oven method is arguably the most popular for how to roast pumpkin seeds perfectly, offering even heat distribution for a consistent crunch.
- Preheat: Set your oven to 350 degrees Fahrenheit (175 degrees Celsius). Line a baking sheet with parchment paper for easy cleanup and to prevent sticking.
- Season and Toss: Place your perfectly dry pumpkin seeds in a large bowl. Drizzle them with a healthy cooking oil like avocado or olive oil. About a tablespoon or two per cup of seeds is a good starting point. The oil helps distribute heat, encourages crisping, and ensures your seasonings adhere. Toss well to coat evenly.
- Flavor Infusion: Now, add your chosen seasonings. A simple sprinkle of salt is classic, but don't be afraid to get creative (more on this below!). Toss again to coat every seed.
- Spread and Roast: Spread the seasoned seeds in a single, even layer on your prepared baking sheet. Avoid overcrowding, as this can lead to steaming instead of roasting.
- Bake Time:
- For whole pumpkin seeds (shells on), roast for 20 to 30 minutes.
- For shelled pumpkin seeds (pepitas), roast for 10 to 15 minutes.
Keep a close eye on them, especially towards the end, as ovens can vary. You want them golden brown and fragrant, not burnt. Stir them once or twice during roasting for even cooking.
- Cool Completely: Remove the seeds from the oven and let them cool entirely on the baking sheet. They will become even crispier as they cool. If you choose to add more delicate seasonings that might burn (like fresh herbs or very fine spices), toss them with the hot seeds immediately after they come out of the oven.
Stovetop Toasting for a Quick Crunch
If you're short on time or prefer a hands-on approach, the stovetop offers a quicker path to a delicious, toasty snack. While technically "toasting," the result is equally satisfying.
- Heat Skillet: Heat a dry skillet (preferably cast iron or heavy-bottomed) over low-medium heat. No oil is needed at this stage, as the goal is to toast the seeds directly.
- Add Seeds: Once the skillet is warm, add your dry pumpkin seeds in a single, even layer.
- Toast and Stir:
- For whole pumpkin seeds, cook for at least 20 minutes, stirring and shaking the pan frequently to ensure even toasting and prevent burning.
- For shelled pumpkin seeds (pepitas), cook for about 5 to 10 minutes, stirring constantly.
The seeds are ready when they turn a lovely golden brown and emit a rich, nutty aroma. They might even make a slight popping sound.
- Season While Hot: Remove from heat and immediately toss the hot seeds with a touch of oil (if desired, for a richer flavor) and your chosen seasonings. The heat helps the seasonings adhere and bloom their flavors.
Whether you prefer the oven's consistent heat or the stovetop's quick control, our comprehensive guide Master Roasting Pumpkin Seeds: Oven, Stovetop & Cleaning Guide offers step-by-step instructions for both, along with detailed cleaning tips.
Flavor Beyond Salt: Creative Seasoning Ideas
While a simple salt coating is undeniably delicious, the world of seasoning opens up endless possibilities for your roasted pumpkin seeds. Don't be afraid to experiment!
- Savory Classics:
- Garlic & Herb: Garlic powder, onion powder, dried oregano, basil, thyme.
- Spicy Kick: Chili powder, cayenne pepper, smoked paprika, red pepper flakes.
- Global Flavors: Cumin, curry powder, garam masala, za'atar, everything bagel seasoning.
- Cheesy Twist: Nutritional yeast (for a dairy-free cheesy flavor) or grated Parmesan cheese (add after roasting to prevent burning).
- Sweet Delights:
- Cinnamon Sugar: A blend of sugar and cinnamon, perfect for a fall treat.
- Pumpkin Pie Spice: A ready-made blend for that quintessential autumn flavor.
- Maple Kissed: Drizzle with a tiny bit of maple syrup towards the end of roasting or after, then toss. Be careful as sugar burns easily.
- Brown Sugar & Spice: Brown sugar, a pinch of ginger, and nutmeg.
- Sweet & Savory Fusion: Combine a touch of brown sugar with chili powder or a hint of cayenne for an intriguing balance.
Pro Tip: When using oil, toss your dry seeds with oil first, then add the seasonings. This helps them stick better. For more delicate spices or sugar-based coatings, sometimes adding them in the last few minutes of roasting or immediately after removing the seeds from the heat can prevent them from burning and ensure maximum flavor.
Storage and Serving Suggestions
Once your beautifully roasted pumpkin seeds have cooled completely, store them in an airtight container at room temperature. They'll retain their crispness and flavor for up to a week. For longer storage, you can keep them in the refrigerator for several weeks or freeze them for a couple of months.
Beyond snacking straight from the container, consider these serving ideas:
- Salad Topper: Add a delightful crunch to any green salad.
- Soup Garnish: Sprinkle over creamy squash soups, tomato soup, or chili.
- Breakfast Boost: Mix into oatmeal, yogurt, or a homemade granola blend.
- Trail Mix Upgrade: Combine with nuts, dried fruit, and chocolate chips for a custom energy snack.
- Baked Goods: Fold into bread dough, muffins, or cookie batter for added texture and nutrition.
Conclusion
Learning how to roast pumpkin seeds is more than just a recipe; it's a simple, sustainable culinary skill that brings delicious rewards. Next time you're scooping out a pumpkin, remember the potential within those humble seeds. With minimal effort, you can transform them into a crispy, healthy, and incredibly versatile snack that will delight your taste buds and minimize food waste. So go ahead, don't waste them – roast them!
